
Process
Our epoxy flooring process.
Precision at every step. Perfection in every surface.
Phase 01
Assess the floor
The system is chosen only after the slab and the requirement are understood.
01
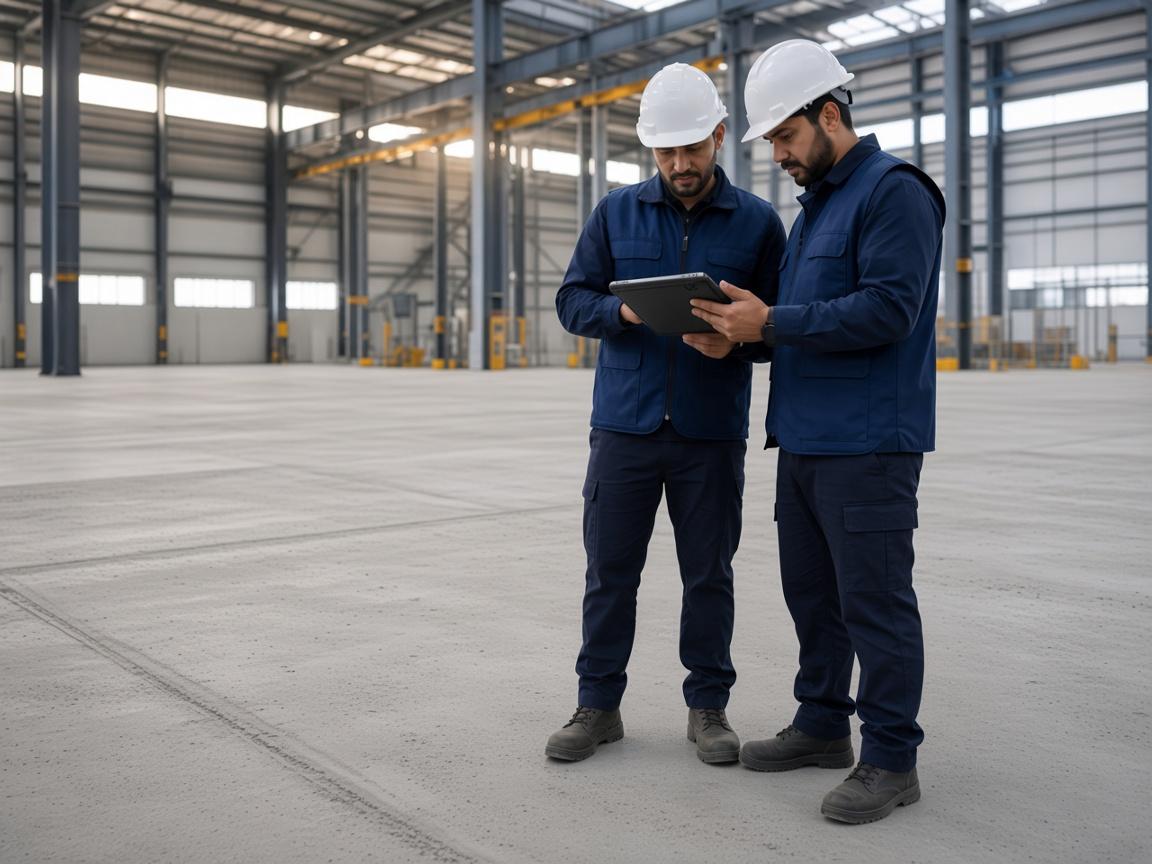
Site inspection & assessment
We evaluate your floor condition, understand your requirements and recommend the best epoxy system for long-lasting results.
- Floor condition evaluated on site
- Requirements understood before a system is chosen
- Epoxy system recommended for long-lasting results
ResultThe right epoxy system, chosen from the actual floor.
Phase 02
Prepare the slab
Grinding, vacuuming and repair make the concrete ready to take epoxy.
02
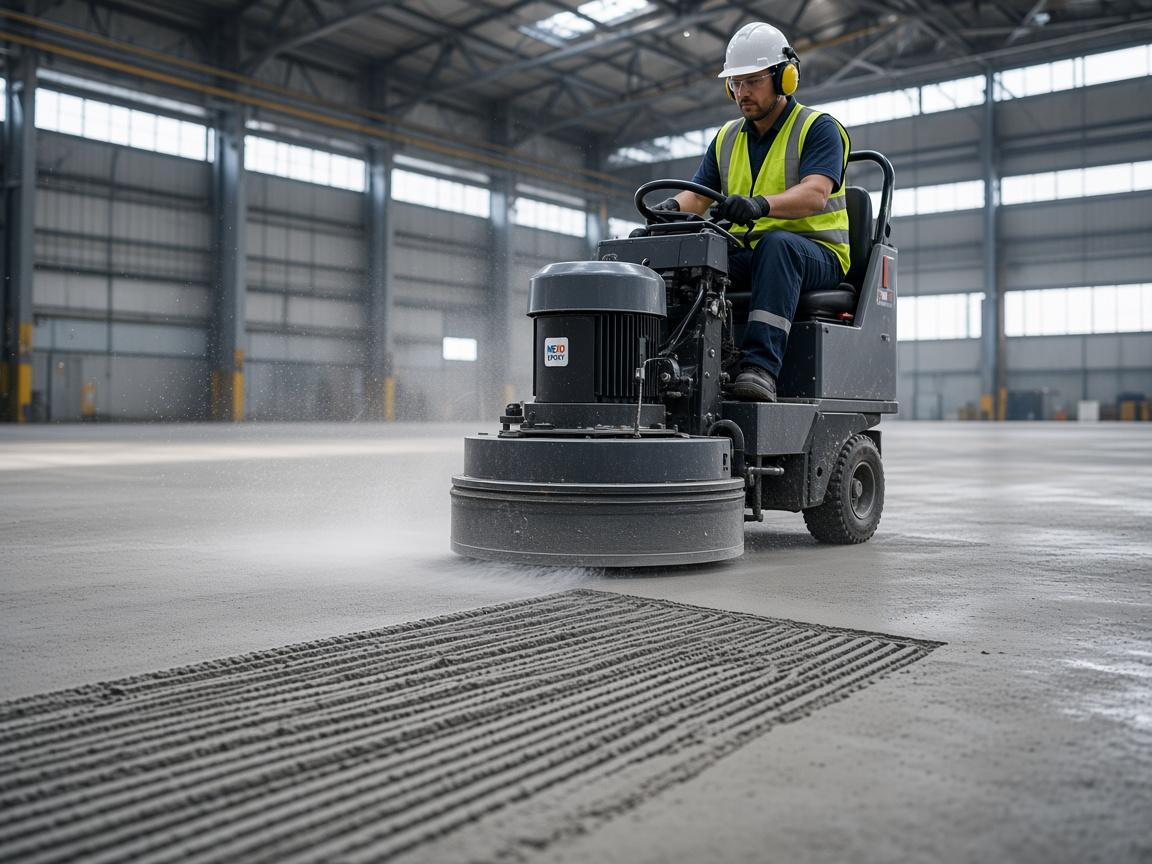
Surface preparation (diamond grinding)
We grind the floor with advanced diamond grinders to remove laitance, loose particles and open the pores for maximum adhesion.
- Diamond grinding removes laitance
- Loose particles cleared from the slab
- Pores opened for maximum adhesion
ResultOpen, profiled concrete ready to bond.
03
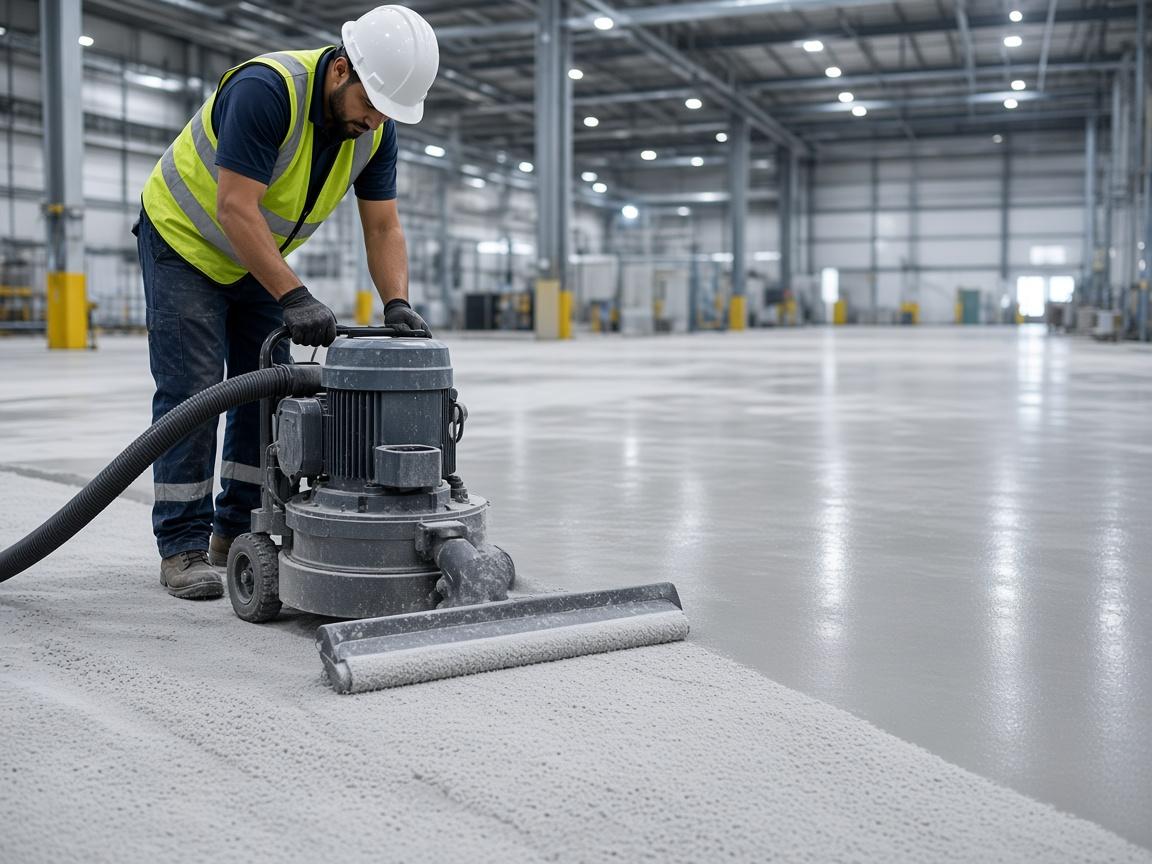
Cleaning & dust removal
High-power vacuum cleaning ensures a dust-free, clean surface for perfect bonding.
- High-power vacuum cleaning
- Dust removed before any coating
- Clean surface for bonding
ResultA dust-free slab ready for the next coat.
04
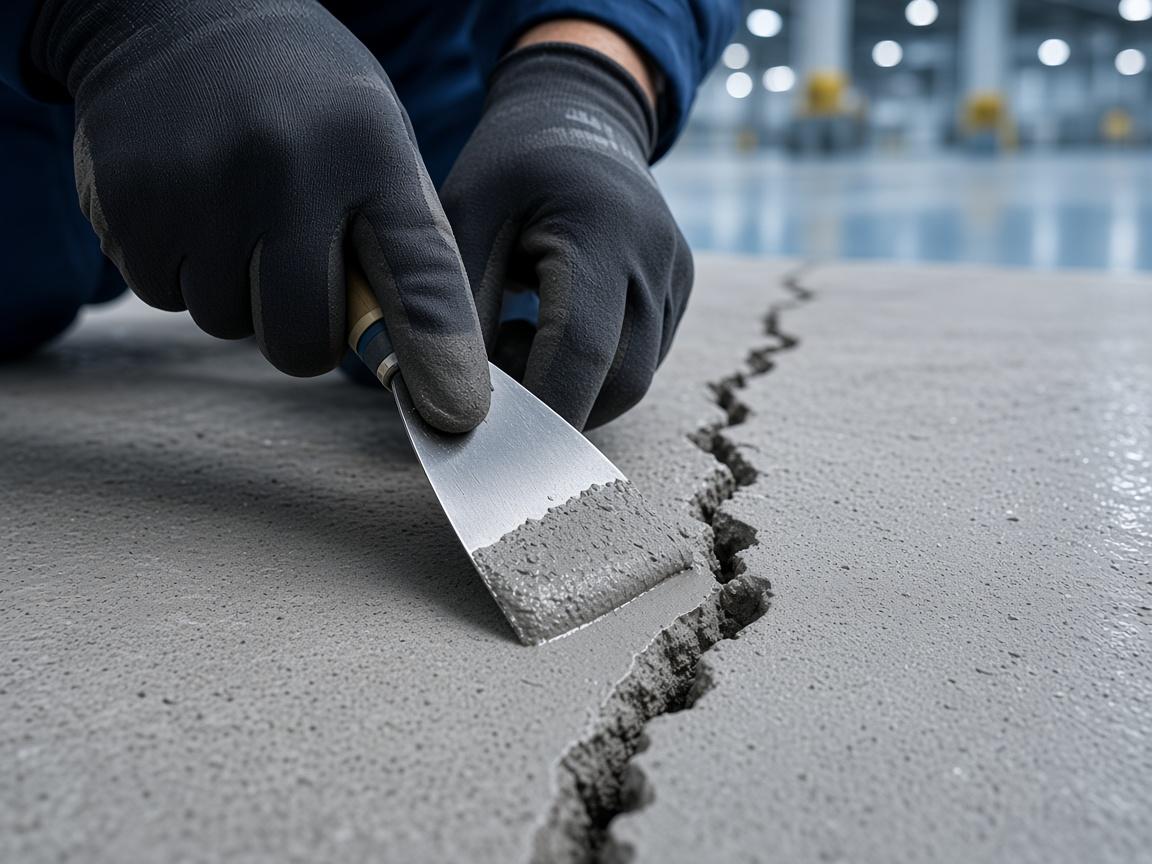
Crack repair & surface repair
All cracks, joints and damaged areas are repaired using epoxy mortar to create a smooth, flawless surface.
- Cracks, joints and damaged areas repaired
- Epoxy mortar used to rebuild the plane
- Smooth, flawless surface before coating
ResultDefects closed before the system is built.
Phase 03
Build the system
Primer, leveling and the self-levelling coat form a seamless base.
05
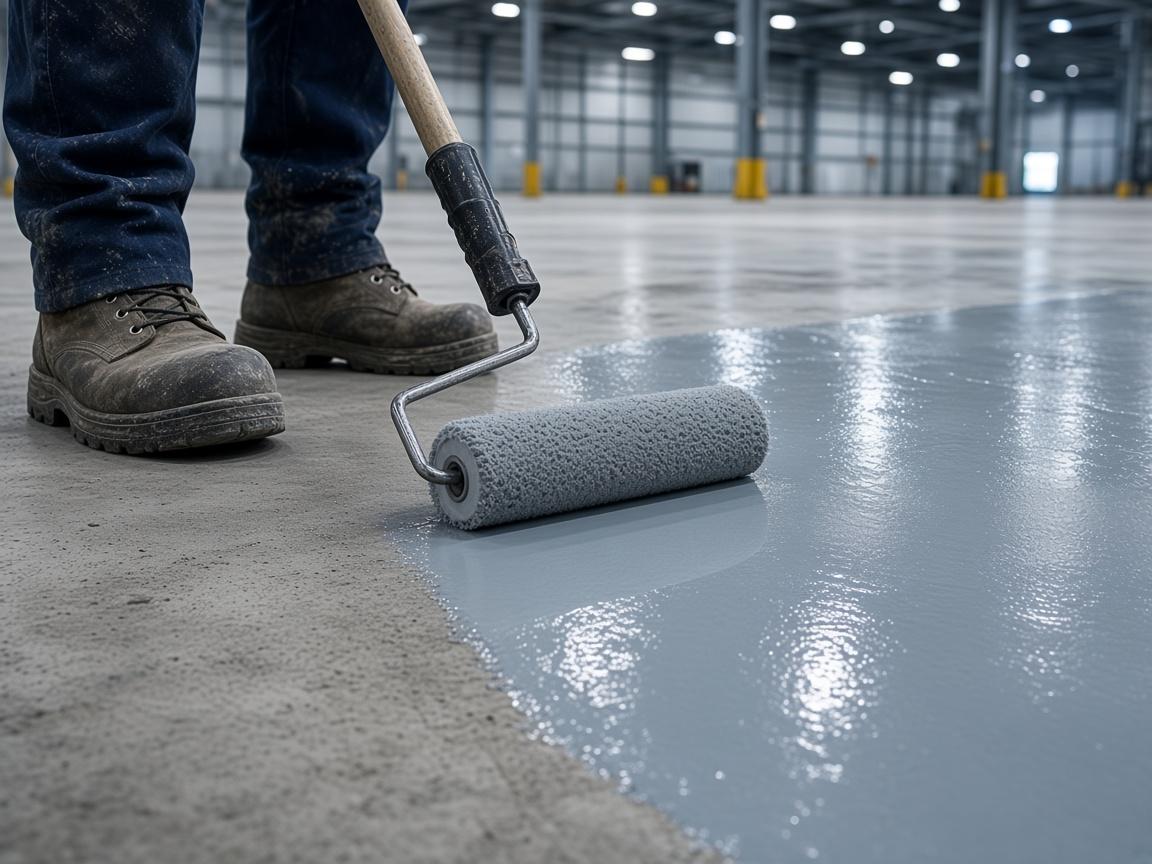
Epoxy primer application
A coat of epoxy primer is applied to enhance adhesion and seal the concrete surface.
- Epoxy primer applied to the prepared concrete
- Adhesion improved between slab and system
- Concrete surface sealed
ResultA sealed slab with a bonded primer film.
06
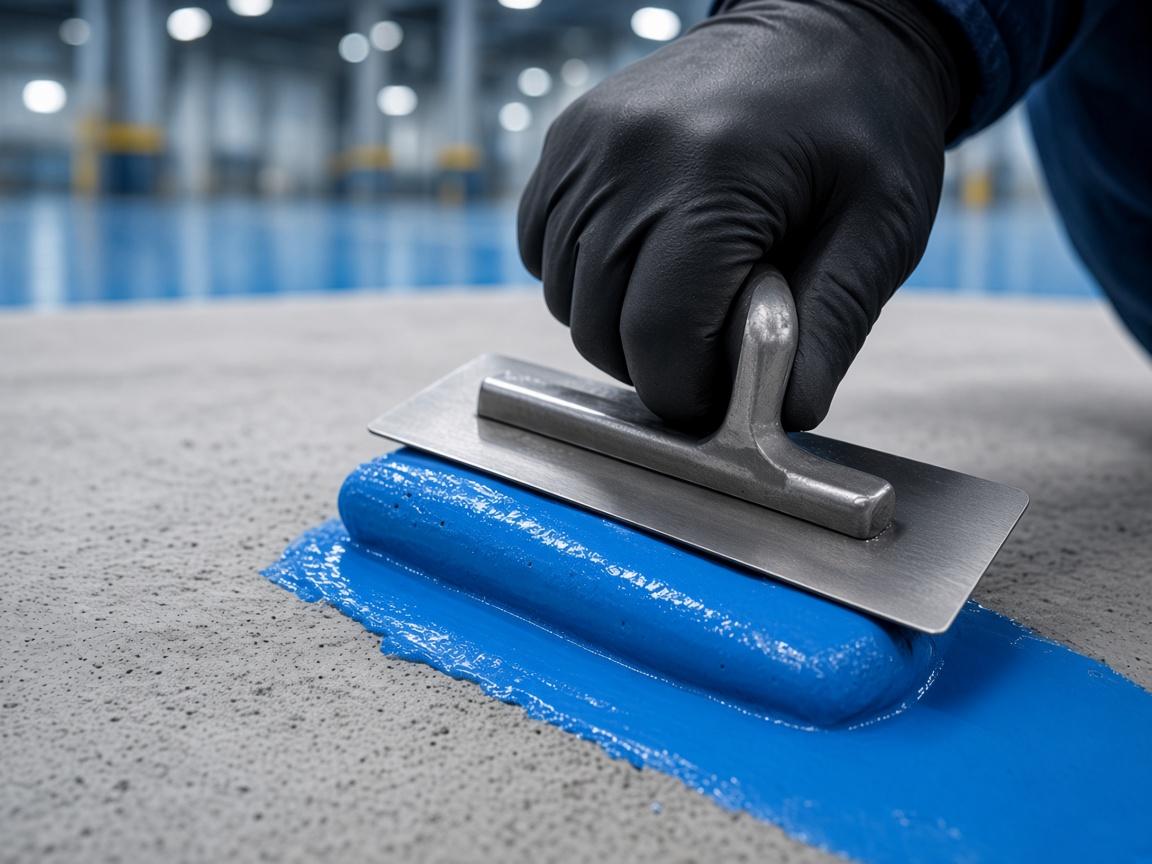
Epoxy putty / mortar (leveling)
Epoxy putty or mortar is applied where required to fill pinholes and level the surface.
- Applied only where the slab needs it
- Pinholes filled
- Surface leveled before the body coat
ResultPinholes filled and the plane leveled.
07
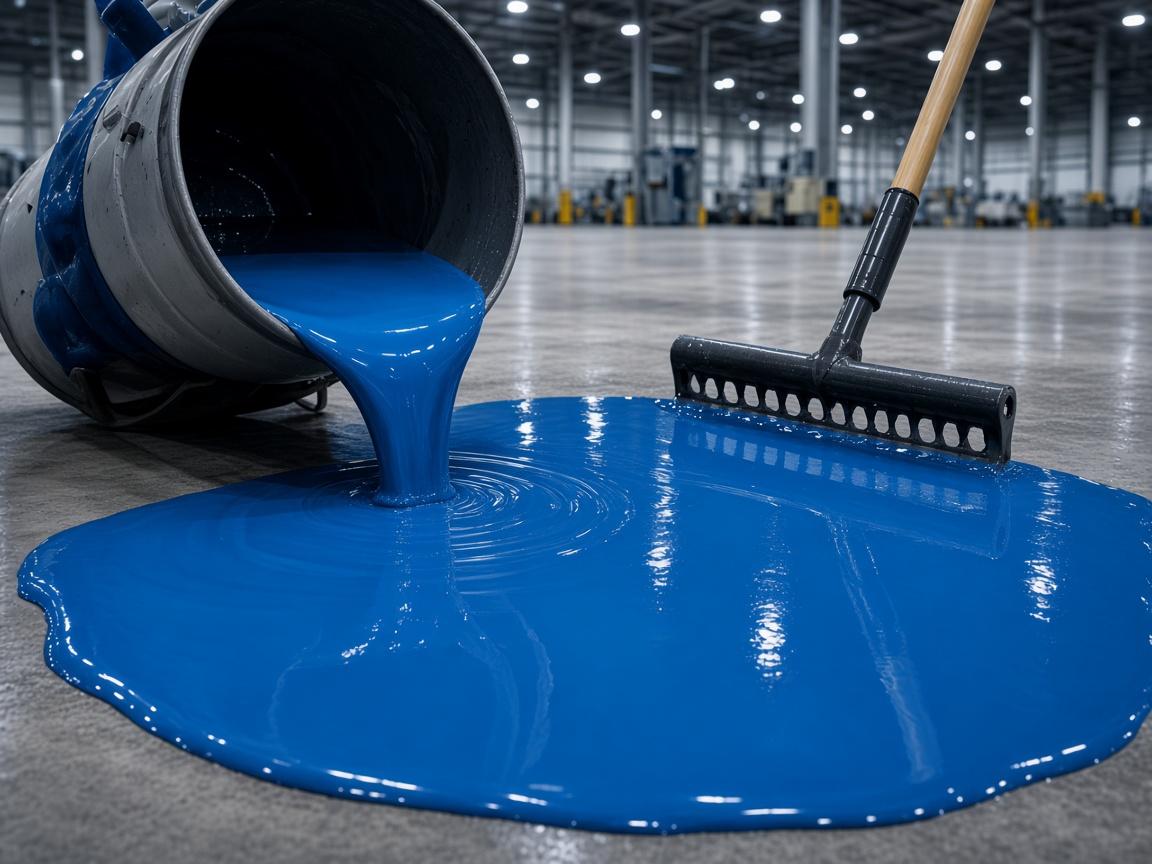
Self-levelling epoxy coat application
Self-levelling epoxy is applied to achieve a seamless, even and strong base.
- Self-levelling epoxy applied as the body coat
- Seamless, even coverage across the area
- Strong base for the top coat
ResultA seamless, even epoxy base.
08
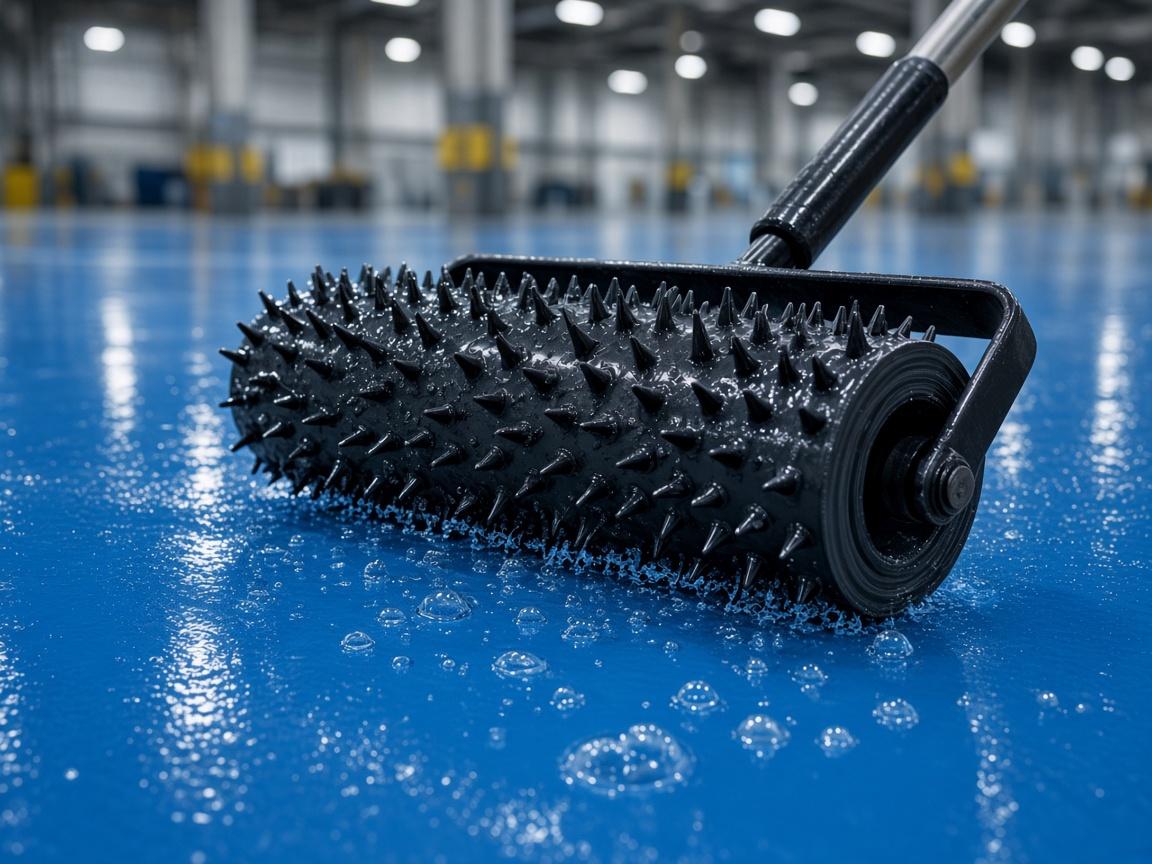
Spike roller application
A spike roller is used to remove air bubbles and ensure a smooth, level finish.
- Spike roller run through the wet epoxy
- Air bubbles released
- Smooth, level finish
ResultAir released, surface left smooth and level.
Phase 04
Finish and hand over
Top coat, cure, inspection and handover return a floor ready to work.
09
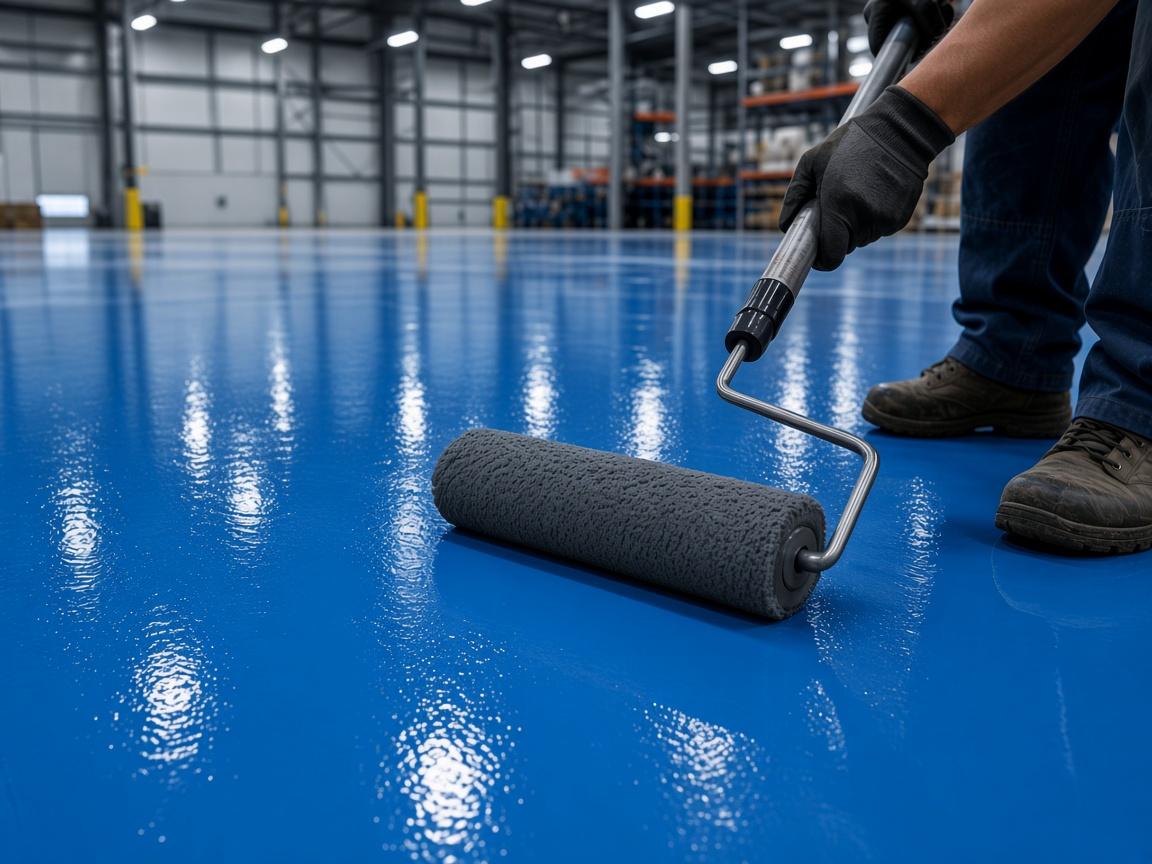
Top coat application
High-performance epoxy top coat is applied for excellent chemical, abrasion and UV resistance.
- High-performance epoxy top coat
- Chemical and abrasion resistance
- UV resistance in the wear layer
ResultThe wear layer that takes traffic and chemistry.
10
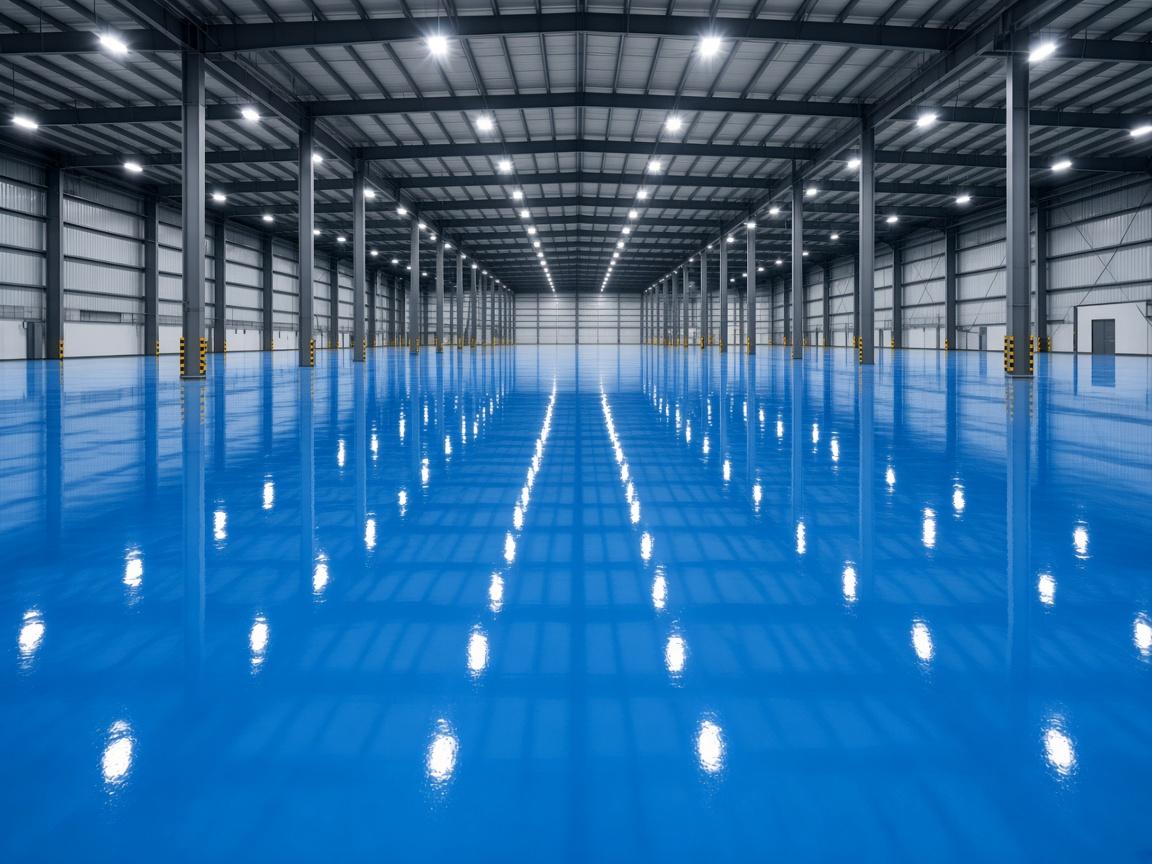
Curing
The floor is allowed to cure for maximum strength and durability. Typical cure window: 24–72 hours.
- Left to cure for strength and durability
- Typical cure window: 24–72 hours
ResultStrength developed before the floor goes back to work.
11
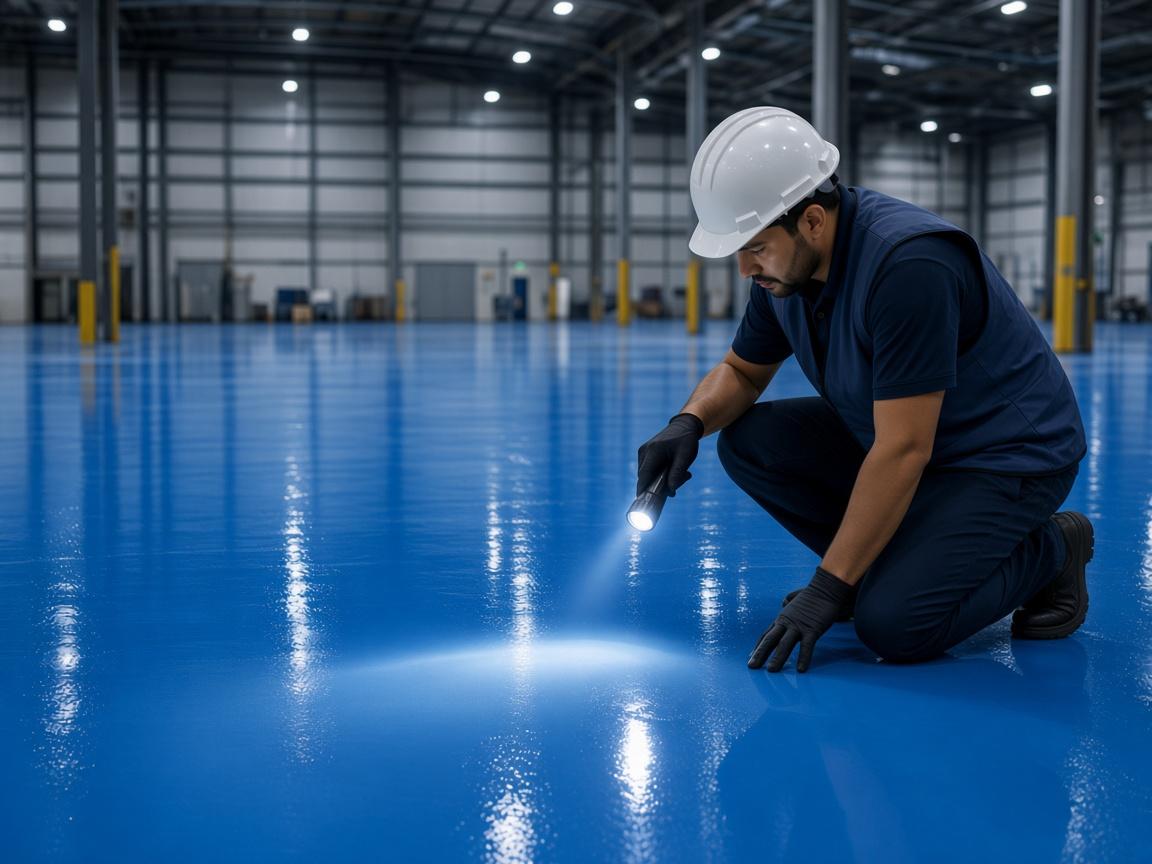
Final inspection
We conduct a detailed inspection to ensure the flooring meets our quality standards.
- Detailed inspection after cure
- Finish checked against TIMEXO quality standards
ResultThe floor confirmed before it is handed over.
12
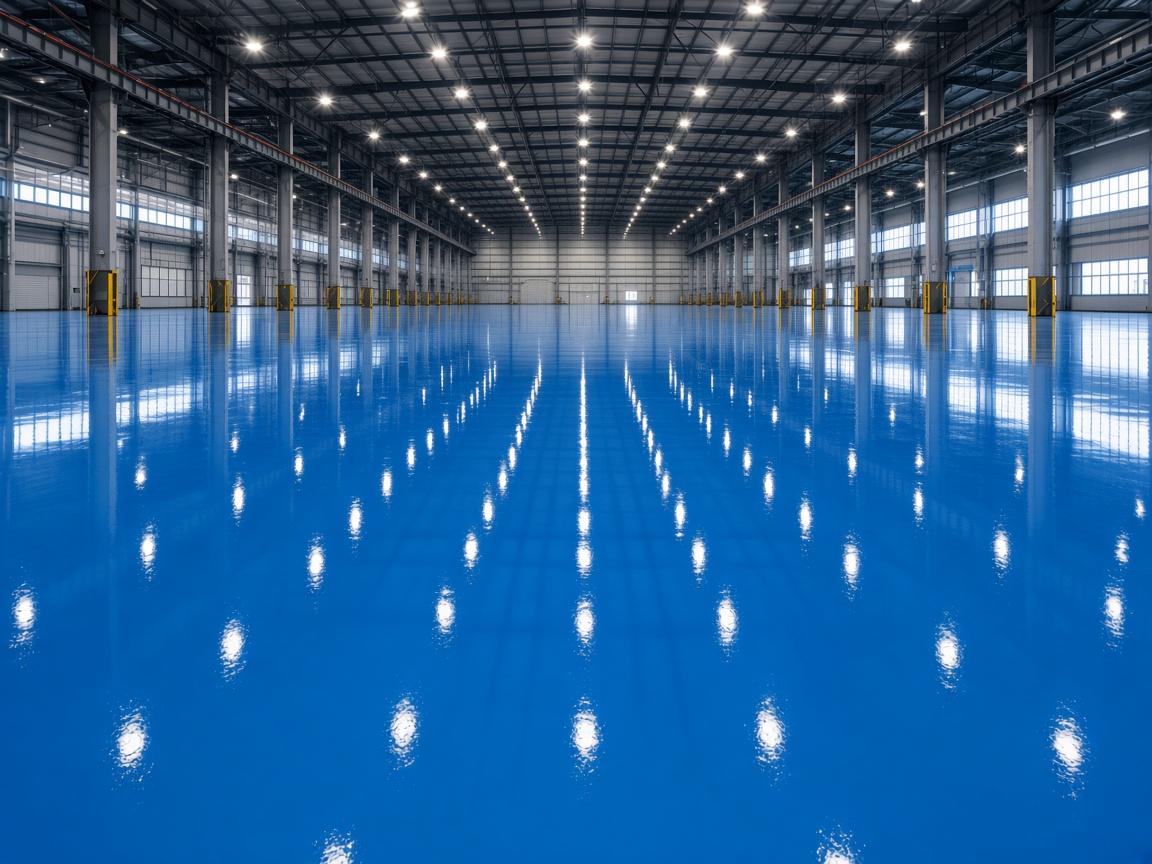
Handover
A flawless, durable, high-performance epoxy floor — ready to perform for years to come.
- Flawless, durable, high-performance epoxy floor
- Ready to perform for years to come
ResultThe facility gets the floor back, ready to work.
Next step